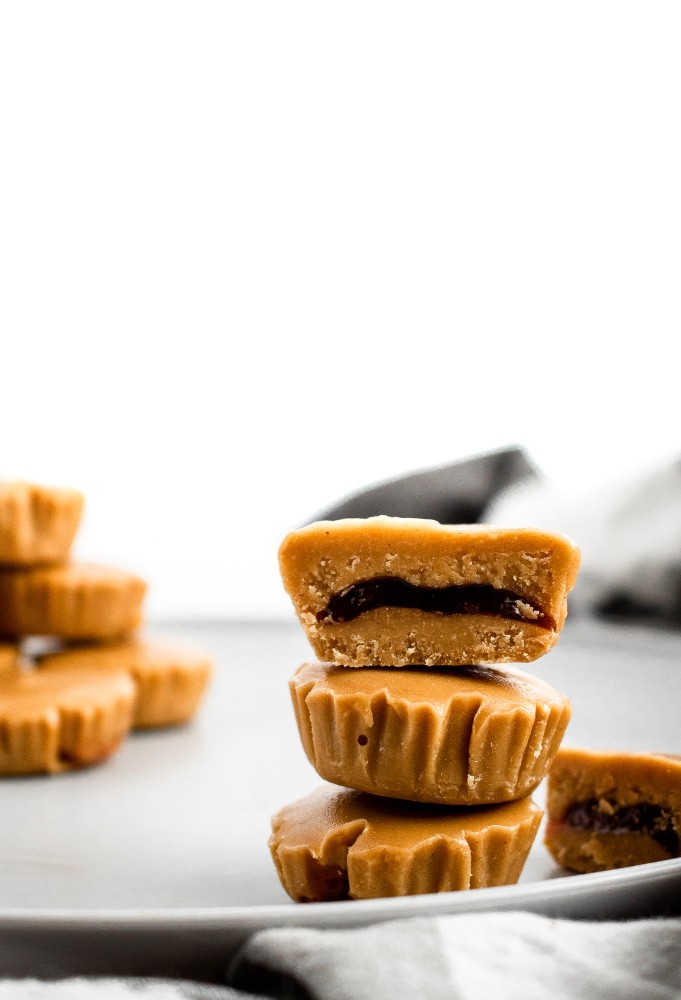
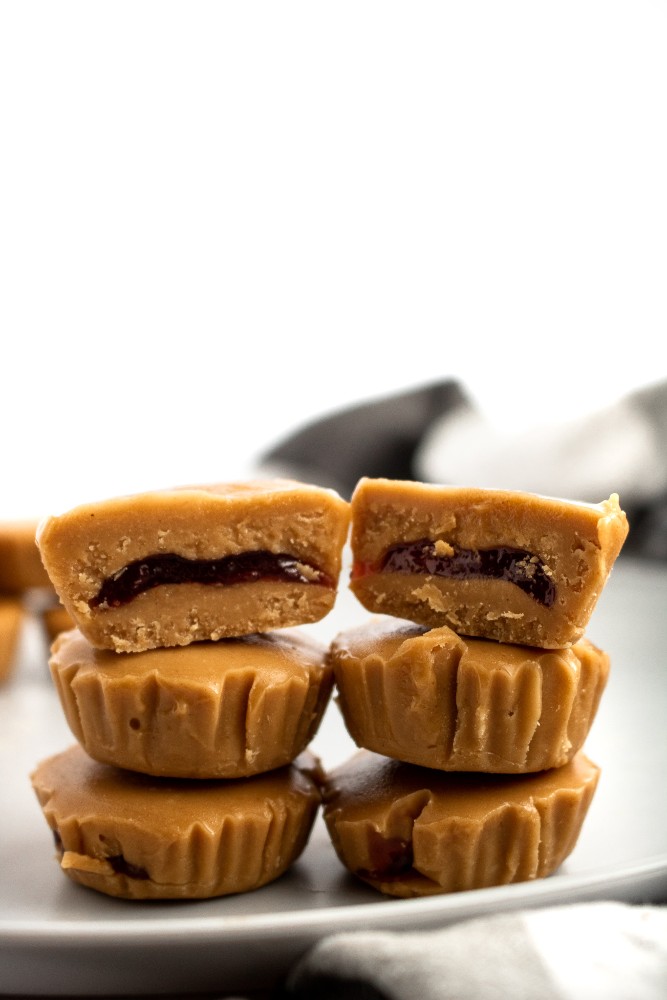
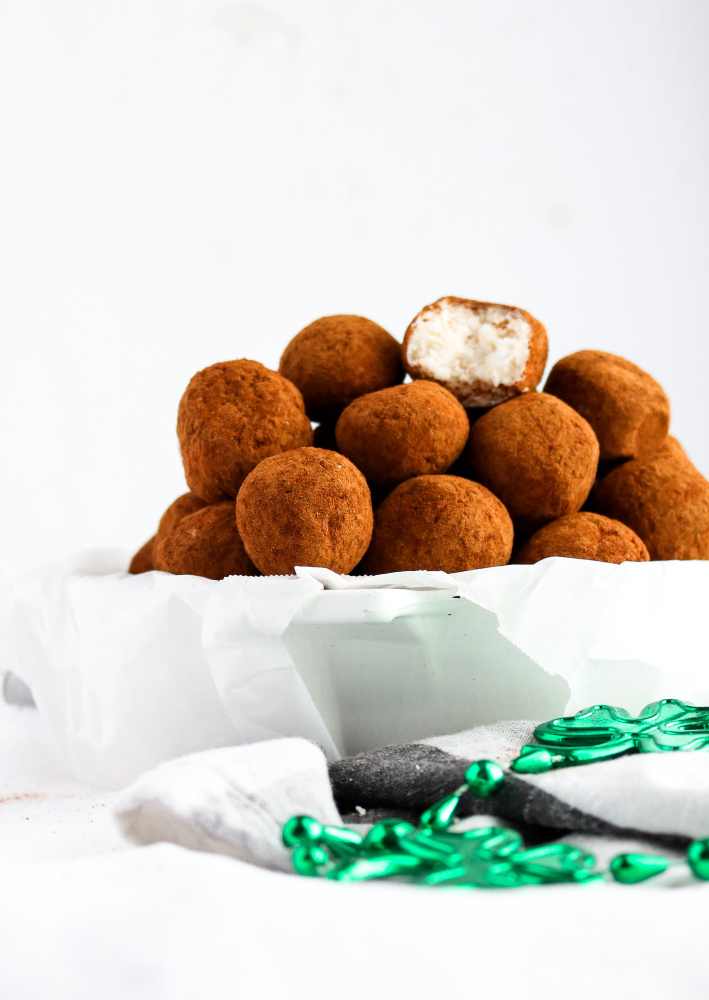
PB and J Cups
Peanut butter and jelly meets peanut butter cup in this combo of classic comfort foods! These delightful pb and j cups are easy to make with only 4 ingredients, simple methods, and no baking required. They’re the ultimate snack for your kids or for the kid in us all!
This post contains affiliate links. As Amazon Associates, we earn a small commission from qualifying purchases (at no cost to you). Click here to read our full policy about affiliate links. Thank you for shopping our affiliate links, as it helps us keep the free vegan recipes coming your way!
If you’ve been around PPC since the Periscope days (shoutout to all of you who’ve been hanging out with us that long!), this peanut butter cup recipe might sound familiar to you. It’s been one of the favorite recipes in our kitchen for the past 4 years, and once you try it, I think you’ll definitely see why!
As per usual with my picky eater self, I’ve never been a huge PB&J sandwich fan. Even as a kid, I’d rather take grilled cheese over a PB and J any day. But remove the bread and add a little peanut butter cup inspiration, and I am totally on board.
T, on the other hand, needed much less convincing. Peanut butter and jelly sandwiches is basically a food group to that man. Needless to say, these homemade peanut butter cups are made very often in our house, but they never last long!
If you like peanut butter like we do, and you’ve got a bit of a sweet tooth, you’re going to absolutely love this little decadent delight.
Save this recipe!
Add your email below to to get this recipe and more right in your inbox!
Why We Love This Peanut Butter and Jelly Dessert
- They’re easy to make with your kids, partner, friend, or just all by yourself!
- They’re fun to eat for kids and adults alike!
- They combine the classic flavors of a PB and J with the convenience and adorable-ness of a mini Reese’s cup!
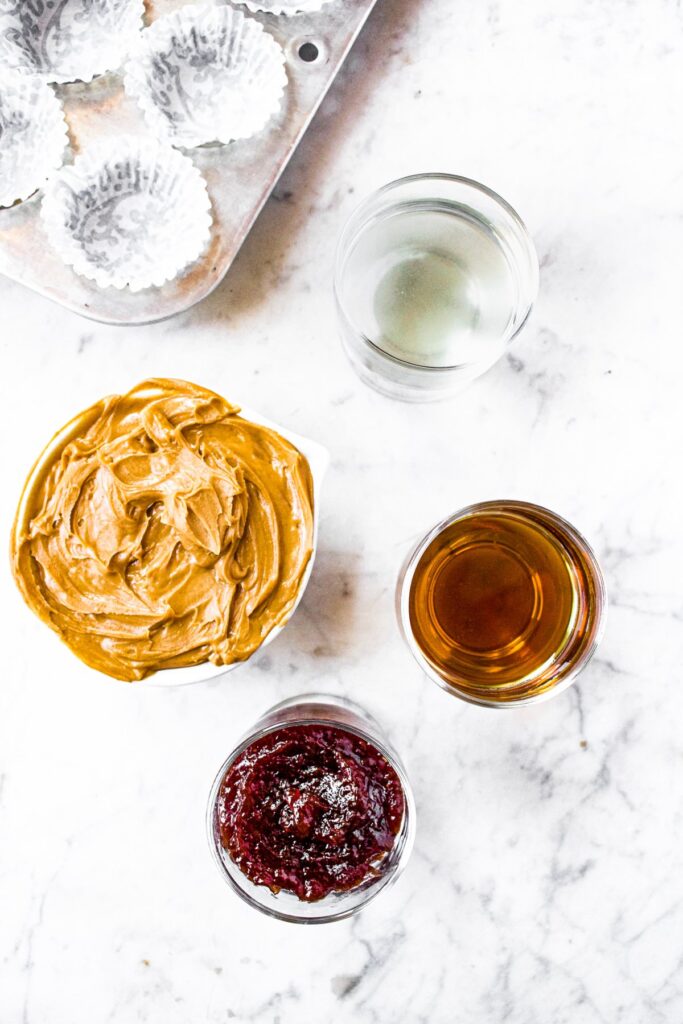
PB and J Cups Ingredients
There are two main components to these delightful little candies: The peanut butter layers and the jam filling layer.
The Peanut Butter Layer
This layer is made up of 3 simple ingredients:
- Peanut butter – We used a creamy peanut butter, but you can use crunchy peanut butter for these as well. The kind of peanut butter matters. We do not recommend using a natural peanut butter that you have to stir for this recipe, as its oiliness will affect the texture. You can try almond butter or sunflower seed butter in this if you are allergic to peanuts.
- Refined coconut oil – You also want to be sure you are using a coconut oil labeled “refined”, unless you want your PB+J cups to have a coconut flavor to them.
- Maple syrup – Finally, make sure you’re using pure maple syrup because the good stuff is worth it here!
The Jam Layer
You can make this easy and go the store-bought route for your favorite jam, or make your own homemade version to really up the WOW! factor of these little beauties!
We went the easy route and used a store-bought strawberry jam. I’d recommend using a jelly or jam for these and staying away from fruit preserves.
For those who don’t know or, like me, can never remember the difference, let’s recap. Basically, preserves have large chunks of fruit and jam has little chunks of mashed up fruit throughout. Jelly has no fruit chunks and is kind of glossy because the fruit has been strained out and just the liquid has been used for the fruit spread.
What flavor jelly goes best with peanut butter?
I mean, how does one even begin to answer this without ruffling a few feathers of fellow fruit spread fans? LOL. I myself am partial to strawberry or raspberry jam and jellies.
I tend to like red fruit jellies. But if I’m not mistaken, grape jelly has been shown to be the most popular choice with peanut butter.
There are so many flavors of fruit spreads to choose from. Feel free to stick with your favorite or branch out and try some new flavors.
Blackberry or cherry jam could be very tasty. I’m also a big fan of triple berry jam and “four fruits” jellies. I personally wouldn’t try mint jelly or orange marmalade in these, but you do you!
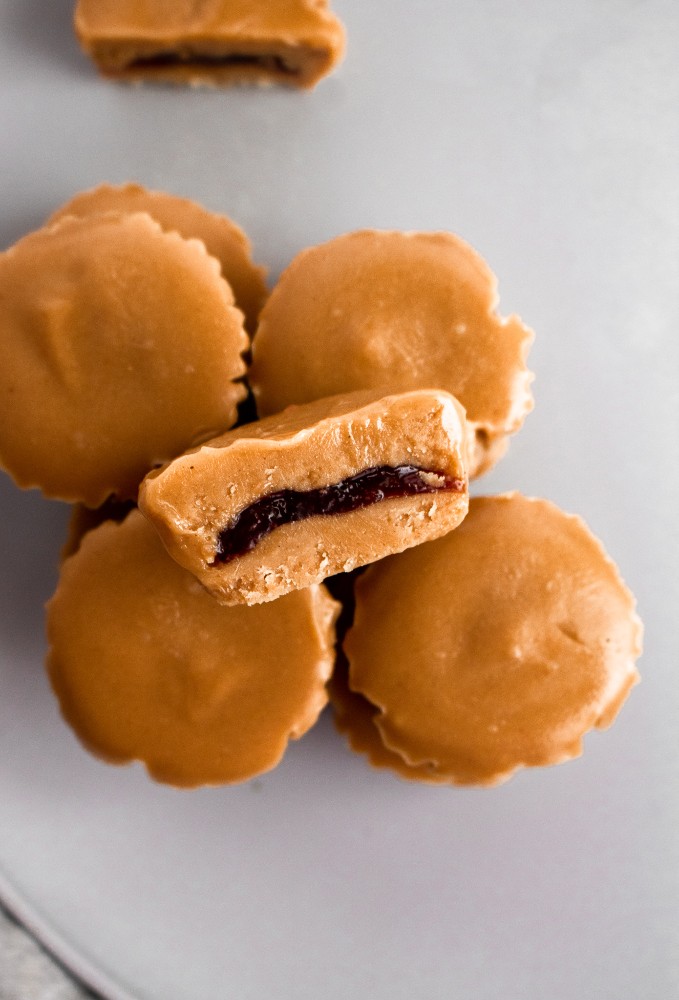
How to Make Mini Peanut Butter and Jelly Cups
These adorable little pb and j cups are so easy to make. Just layer and chill!
Step 1: Prepare
You’ll start by lining a muffin tray with cupcake or muffin liners. We used a mini muffin tin with mini cupcake liners, which made 12 smallish cups.
If you’re using a regular-sized muffin tin, it will make around 5-6 (very large) cups. If you have silicone molds similar to mini cupcake tins, feel free to use those.
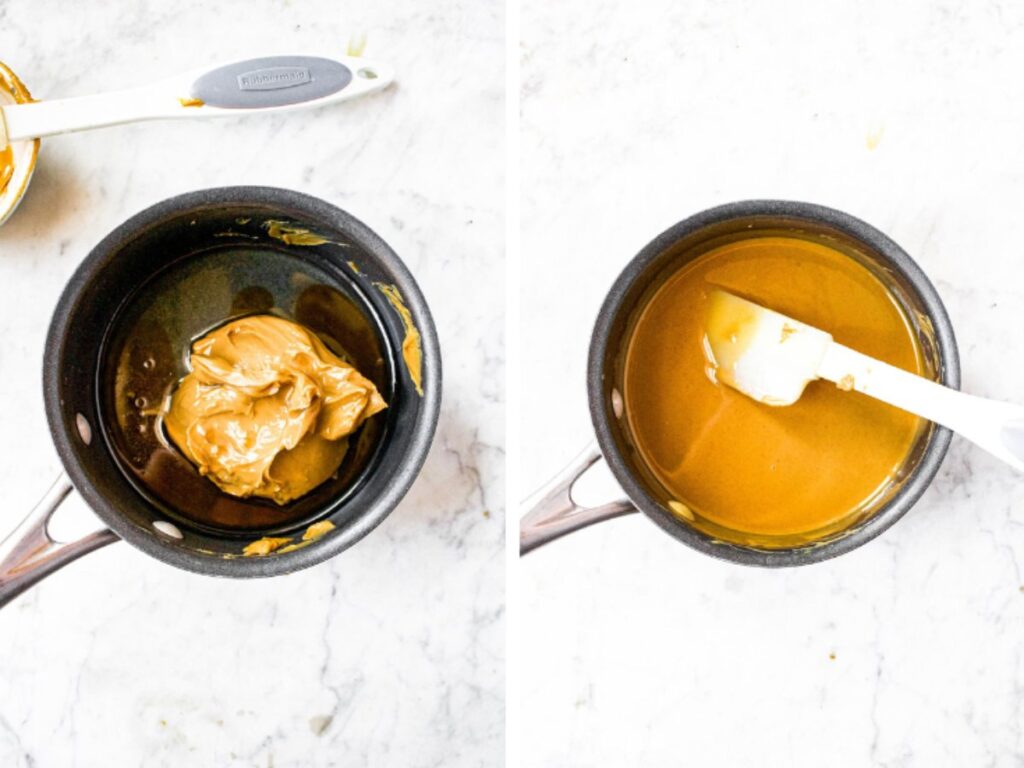
Step 2: Make the peanut butter layer
Next, you’ll add all 3 ingredients for the peanut butter layer to a microwave-safe bowl, small saucepan or double boiler. Heat this on low heat, slowly and carefully (in 10-15 second increments if using the microwave), stopping to stir often, until it is a nice liquid-y consistency.
Then, you’ll pour this mixture into the cupcake liners, creating a thin bottom layer of the peanut butter cup. Pop that muffin tin in the freezer for 5 minutes to set.
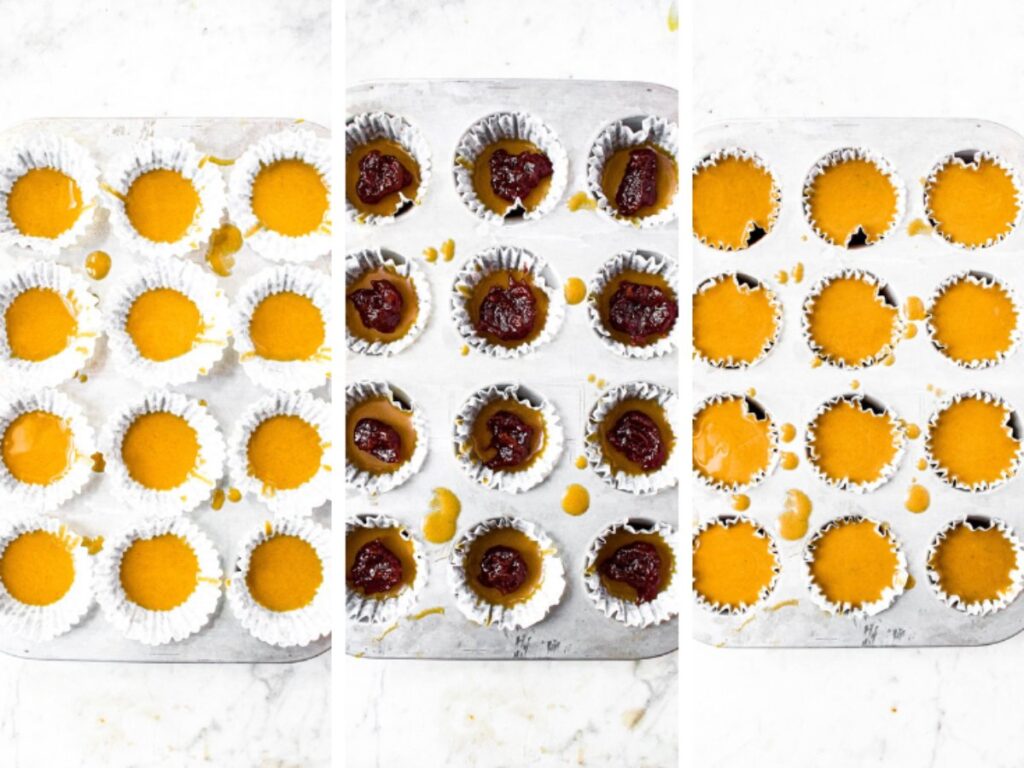
Step 3: Make the jam layer.
Once the bottom peanut butter layer has hardened, you’ll top each with a dollop or small bit of jam to create the fruit middle of each peanut butter layer.
Use about a scant teaspoon of jelly. (Or scant teaspoon of jam depending what you’re using!)
Press down a bit on it with the back of a spoon but leave a thin border around the edge to fully enclose it with the second layer of peanut butter, if desired. Put this back in the freezer for another 5 minutes.
Step 4: Finish with the second peanut butter layer.
Finally, fill each cupcake liner with the remainder of your peanut butter mixture to make the top of the peanut butter layer, just enough to cover the top of the jam. Set it in the freezer once more.
After about 20-30 minutes, your PB&J Cups will be ready to snack and enjoy!
How to Store PB and J Cups
Store your peanut butter + jam cups in the fridge or freezer in an airtight container for up to 8 weeks. We do not recommend leaving them out of the freezer for more than a few minutes, however, as they do tend to get a bit melty – especially in the heat.
More Kid-Friendly No-Bake Desserts:
I bet you have all the ingredients for these pb and j cups in your pantry right now, so what are you waiting for?! They would be a great treat to make with friends, your partner, or even your kids!
Try these babies ASAP and report back with all the delicious details. You can rate the recipe and leave a comment below or tag us in your mouth-watering photos on Instagram. If you’re not already following along, we’re @theplantpowercouple with the “the”.
Until the next round of vegan deliciousness, friends. Cheers!

Peanut Butter and Jelly Cups Recipe
Ingredients
- 1/2 cup creamy peanut butter*
- 1/4 cup refined coconut oil
- 2 Tbsp maple syrup
- 1/4 cup strawberry jam
Instructions
- Line a mini muffin tin with cupcake liners. You can make these in a regular-sized muffin tin too. This recipe will make 12 mini cups or 6 regular-sized cups.
- Add the peanut butter, refined coconut oil, and maple syrup to a small saucepan and heat on low. Stir continuously with a wooden spoon for about 1-2 minutes or until the mixture is melted, liquid-y, + totally combined with no clumps remaining.
- Carefully spoon this mixture into each cupcake liner, creating a ¼ inch layer on the bottom. Place your muffin tin in the freezer for 5 minutes to set the first layer.
- Next, top each peanut butter jayer with ½ – 1 tsp strawberry jam (or 1 Tbsp for regular-sized cups). Use a spoon to flatten it out a bit and place your muffin tin back in the freezer for another 5 minutes.
- Before you remove your muffin tin again, check your peanut butter. If it’s firmed up a bit, you may want to carefully reheat it. Carefully spoon this peanut butter mixture into each cupcake liner, completely covering the jam. Use a spoon to level out each cup and add more peanut butter mixture where needed. Then, place the muffin tin in the freezer for a final 20-30 minutes.
- Store your peanut butter + jam cups in the freezer in an airtight container for up to 8 weeks. We do not recommend leaving them out of the freezer for more than a few minutes, however, as they do tend to get a bit melty – especially in the heat. Enjoy!
Video
Notes
Nutrition
Watch our mini peanut butter and jelly desserts Web Story.
Delicious
Thanks so much, Jim! 🙂